Here’s the deal:
If you want your tufted rug to look professional and polished, you NEED to know how to shave it properly.
In fact, shaving is what separates amateur rug makers from the pros.
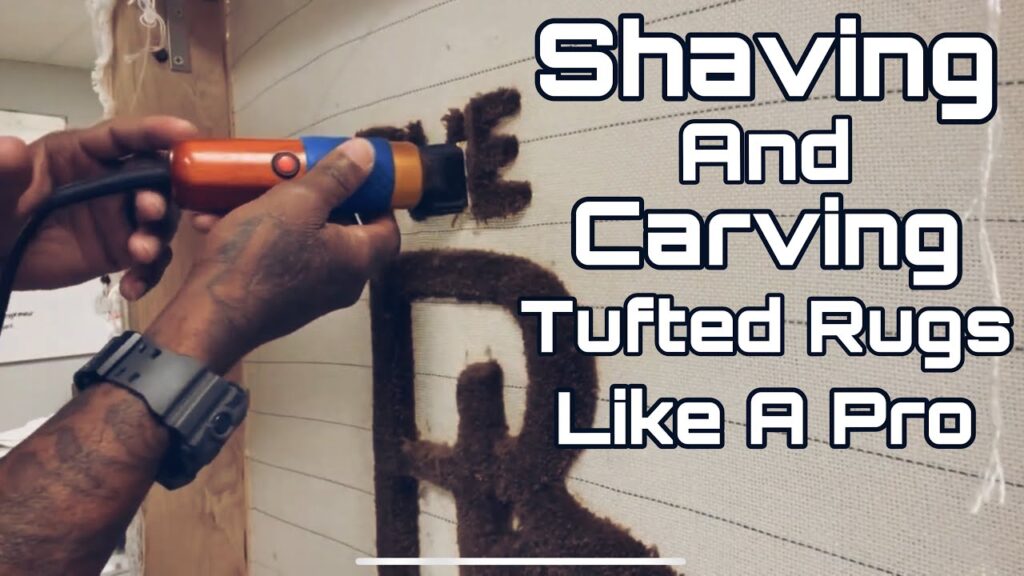
Today as a professional custom tufted rugs manufacturer, I’m going to show you exactly how to shave a tufted rug step-by-step.
(Including the exact tools and techniques that professional rug makers use.)
Let’s dive right in.
Why Shaving Your Tufted Rug Matters
You might be wondering:
“Do I really need to shave my rug?”
The short answer? Yes.
Here’s why:
First, shaving evens out the pile height across your entire rug. When you’re tufting, it’s almost impossible to get every strand exactly the same length.
Second, it removes loose fibers and fuzz that make your rug look messy.
And third, proper shaving and carving creates those crisp, clean lines between different colors and design elements.
The bottom line?
If you skip the shaving step, your rug will look amateurish. Period.
Essential Tools You’ll Need
Before we jump into the actual shaving process, let’s talk tools.
Because here’s the thing:
Having the right equipment makes ALL the difference.
Electric Rug Shearing Machine or Clippers
This is your main weapon.
You have a few options here:
- Specialized rug trimmers: These are designed specifically for rug shaving
- High-quality hair clippers: Yep, the same ones barbers use
- Sheep shears: These work great for rough cuts
Pro tip: Get clippers with an adjustable guide. This helps you maintain consistent pile height across your entire rug.
Sharp Scissors
You’ll need these for detail work.
Specifically, scissors are perfect for:
- Carving around intricate designs
- Creating clean lines between colors
- Touching up areas your clippers can’t reach
Make sure they’re SHARP. Dull scissors will pull on the yarn instead of cutting it cleanly.
Sturdy Work Surface
This is crucial.
Ideally, you want to shave your rug while it’s still stretched on the tufting frame. This prevents movement and lets you apply consistent pressure.
But if your rug is already off the frame?
No worries. Just make sure you’re working on a flat, stable surface.
Vacuum Cleaner
You’ll be shocked at how much yarn comes off during shaving.
Keep your vacuum handy. You’ll want to clean as you go to see your progress clearly.
How to Shave a Tufted Rug: Step-by-Step Process
Now for the good stuff.
Here’s exactly how to shave your tufted rug like a pro:
Step 1: Start With the Basics
Begin by giving your entire rug a basic trim.
Hold your clippers at a 90-degree angle to the rug’s surface. Work in smooth, consistent motions.
Your goal here?
Remove the top layer of fuzz and create uniform height across the whole rug.
Don’t press too hard. Let the weight of the clippers do the work.
(Pushing down too hard can result in uneven cuts or even damage to the backing.)
Step 2: Angle for a Smoother Finish
Once you’ve done your basic pass, it’s time to refine.
Tilt your shaver slightly. This helps blend the pile and eliminates any sharp lines you created in step 1.
Think of it like blending in a haircut. You’re creating a more natural, professional finish.
Step 3: Detail and Carve
This is where the magic happens.
For designs with multiple colors or intricate patterns, you need to “carve” your rug.
Here’s how:
With clippers: Angle the clippers so the blade points toward the line you’re defining. This lets you trim right up to the edge of your design.
With scissors: Use these for super fine details. Carefully trim the yarn to create precise separations between colors.
Work slowly here. Seriously.
It’s WAY easier to take more off than to put it back on.
Step 4: Assess As You Go
Step back frequently.
(I mean it. Every few minutes.)
Look at your work from different angles. Check where lines need sharpening. See where the pile needs evening out.
This process is all about small adjustments.
Step 5: Final Pass
Happy with your detailing?
Time for one last, light pass over the entire rug.
This ensures everything is level and clean.
Go with the grain here. Try to shave in the same direction to keep the pile consistent.
Step 6: Clean Up
Give your rug a thorough vacuuming.
You’ll be amazed at how much loose fiber comes off during this process.
In fact, don’t be alarmed if it looks like you could make a whole new rug from the trimmings. That’s totally normal.
Advanced Shaving Techniques
Want to take your rug shaving to the next level?
Here are some pro techniques:
Creating Dimension
You can create 3D effects by shaving different areas to different heights.
For example:
- Leave background elements slightly longer
- Shave focal points shorter for definition
- Create gradual transitions between heights
Shaving for Different Rug Types
Cut pile rugs: These are the most common for shaving. You can achieve super clean lines and varied textures.
Loop pile rugs: Be extra careful here. You’re not actually cutting the loops, just evening them out.
Using Carpet Carvers
If you’re serious about rug making, consider investing in professional carpet carvers.
These tools are specifically designed for creating dimensional angles and ultra-clean lines.
Yes, they’re expensive. But the results speak for themselves.
Common Mistakes to Avoid
Even experienced rug makers mess these up:
Pressing Too Hard
This is the #1 mistake beginners make.
Remember: Let the tool do the work. Pressing harder doesn’t give you a better cut – it gives you an uneven one.
Rushing the Process
Shaving can feel tedious. Especially on larger rugs.
But here’s the thing:
Taking your time is the difference between a rug that looks handmade and one that looks professional.
Ignoring Tool Maintenance
Keep your clipper blades clean and sharp.
Dirty or dull blades will:
- Pull on the yarn instead of cutting
- Create uneven results
- Make the whole process way harder than it needs to be
Not Practicing First
If you’re new to this, practice on a scrap piece of tufting cloth first.
Trust me on this one.
Better to mess up on a practice piece than on your masterpiece.
Maintaining Your Tools
Your tools are an investment. Take care of them.
After each use:
- Remove all yarn buildup from your clippers
- Oil the blades with all-purpose oil
- Store them in a dry place
For scissors:
- Wipe them clean after each use
- Oil the pivot point occasionally
- Get them professionally sharpened when needed
When to Shave Your Tufted Rug
Timing matters.
The best time to shave?
While your rug is still on the frame. This gives you maximum control and stability.
But you can also shave after:
- Applying adhesive to the back
- The glue has fully dried
- You’ve attached the backing fabric
Each has pros and cons. Experiment to see what works best for your process.
Safety Tips
Let’s talk safety for a second.
Because these tools are SHARP.
Always:
- Keep your free hand away from the cutting path
- Work in good lighting
- Take breaks to avoid fatigue (tired = sloppy = dangerous)
- Keep tools away from kids and pets
Final Thoughts
There you have it.
Everything you need to know about how to shave a tufted rug.
Remember:
Shaving isn’t just about making your rug look neat. It’s about transforming a homemade project into a professional-quality piece.
Take your time. Practice your technique. And don’t be afraid to experiment with different tools and methods.
With these techniques, your tufted rugs will look like they came straight from a high-end boutique.
Now grab your clippers and start shaving!