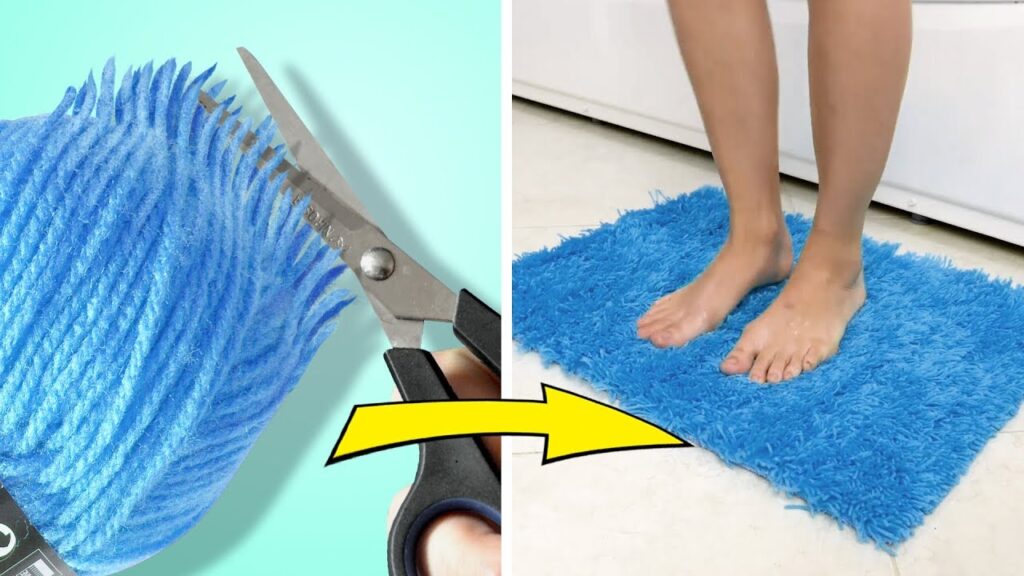
Searching for the perfect bath rug to fit your space can be frustrating. Rather than settling or wasting money on returns, why not make your own custom-sized rug?
With a few simple supplies and tools, you can easily modify an existing rug or create one entirely from scratch. Customizing allows you flexibility on size, shape, materials and personalization to perfectly suit your needs.
In this step-by-step guide, as a professional custom rugs manufacturer, I’ll show you different ways to make how to make a custom bath rug tailored to your space.

How to Make a Custom Bath Rug
Customize a Store-Bought Rug
If you’ve found a rug you love but it’s not quite the right dimensions, custom altering it is simple. Here’s what you’ll need:
Supplies
- Rug at least correct length on one side
- Sharp fabric scissors
- Measuring tape
- Straight edge
- Coordinating duct tape
- Pins (optional)
Steps
- Decide on exact size needed and fold under excess rug material.
- Secure folded section completely with duct tape.
- For clean cut, use straight edge as guide 1-2 inches from fold. Carefully cut along edge through all rug layers.
- Bind cut edge with more duct tape to prevent fraying.
And that’s it! For added stability, you could also glue or sew the bound edge. Getting perfect size and shape is so easy by customizing.
Pro Tip: Pin the fold first for easier cutting and to prevent shifting.
Sew a Custom Bath Rug
For ultimate customization or to use special materials, sewing a fully custom rug is simple.
Supplies
- Fabric cut to desired dimensions
- Coordinating thread
- Pins
- Sewing machine
- Scissors
- Anti-slip rug grip (optional)
Steps
- Cut top and bottom fabrics to exact size needed.
- Pin fabrics with wrong sides facing and edges aligned.
- Sew together on all four sides with 1⁄2 inch seam allowance.
- Clip corners to reduce bulk. Turn right side out through one side’s opening.
- Topstitch all sides for crisp edge (optional).
- Apply anti-slip rug grip to bottom side for safety.
With the right fabrics, sewing allows limitless customization for a perfect fit bath rug!
Pro Tip: Flip the rug over to sew a special personalized message on the backside!
Weave Custom Bath Rug
Weaving a rug by hand takes time but results in a super thick and cushy custom piece.
Supplies
- 5/8″ cotton rope
- Fabric yarn or t-shirt yarn
- Wood beam at least 2 feet wide
- Yarn or fabric scissors
- 31 nails
- Hammer
- Needle and thread
Steps
- Hammer nails across top of beam 1 inch apart. Add second row 3 feet below spaced equally.
- Tie end of rope to bottom left nail. Wrap up and down each nail creating warp. Tie end to bottom right nail.
- Cut t-shirt or fabric yarns to 6 feet each.
- Tie first yarn to top right nail. Weave over and under warp to left side.
- Weave back to right, going over where previously under for plain weave.
- Push rows together and continue weaving.
- When finishing a yarn, tie ends together and bury tails inside rug.
- Once rug reaches desired size, remove from loom by tying off warp threads in back.
Custom woven rugs take time but the chunky texture and coziness is well worth it for your perfect space!
In Summary
The options for how to make a custom bath rug are endless once you realize it’s easy to customize existing pieces or make your own. With a rug perfectly sized for your space, you’ll look forward to stepping out onto its softness!
Don’t settle for standard sizes when you can DIY it exactly as you want it with a little creativity and effort. Which technique will you try first for your new custom rug? Let me know how it turns out!