Wykonywanie dywaników za pomocą pistoletu do tuftingu przeżywa obecnie swój rozkwit.
I nie bez powodu.
To jedno z tych hobby, w których można stworzyć coś użytecznego ORAZ pięknego. Dodatkowo, bariera wejścia jest niższa niż mogłoby się wydawać.
W tym przewodniku, jako profesjonalista Dywany tuftowane na zamówienie producent, pokażę ci jak dokładnie wykonać dywan za pomocą pistoletu do tuftingu od początku do końca.
Zanurzmy się od razu.
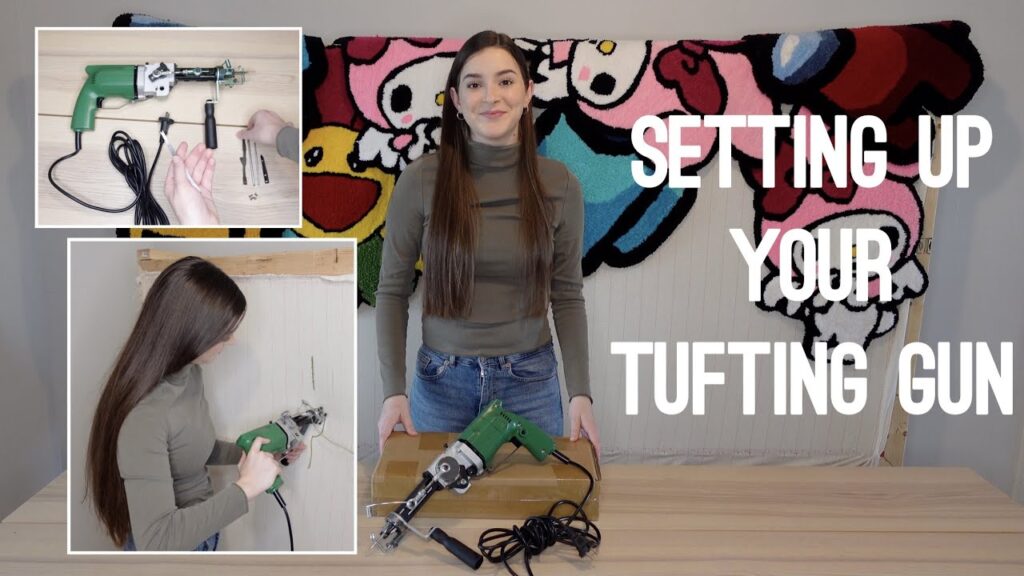
Co to jest pistolet do tuftingu?
Po pierwsze:
Pistolet do tuftingu to w zasadzie ręczna maszyna, która przebija przędzę przez tkaninę z dużą prędkością.
Pomyśl o tym jak o maszynie do szycia na sterydach. Z tą różnicą, że zamiast zszywać tkaniny, tworzy pętle (lub je przecina), tworząc pluszowe runo dywanu.
Sprawa wygląda następująco:
Pistolety do tuftingu występują w dwóch głównych typach:
Pistolety na ścięte pale: Automatycznie przycinają przędzę podczas pracy, tworząc klasyczną, rozmytą teksturę dywanu.
Pistolety pętlowe: Pętle pozostają nienaruszone, zapewniając bardziej teksturowane, trwałe wykończenie.
Niektóre pistolety mogą wykonywać obie te czynności. Są one jednak cięższe i droższe.
Niezbędne materiały potrzebne do tuftingu dywanów
Przed rozpoczęciem tuftingu potrzebny jest odpowiedni sprzęt.
Oto, czego dokładnie będziesz potrzebować:
1. Pistolet do tuftingu
To twoje główne narzędzie.
Ceny wahają się od $150-$400 w zależności od miejsca zakupu i wybranych funkcji.
Wskazówka: Jeśli dopiero zaczynasz, podstawowy pistolet do cięcia na stosie sprawdzi się świetnie. Później zawsze można go ulepszyć.
2. Rama do tuftingu
Potrzebna jest solidna drewniana rama, która utrzyma mocno tkaninę.
Ramka musi być:
- Wystarczająco mocny, aby wytrzymać nacisk pistoletu
- Wystarczająco duży dla danego projektu
- Stabilny (aby się nie przewrócił)
Polecam zbudowanie własnego. Jest to tańsze i można dostosować rozmiar.
3. Podstawowa tkanina nośna
To jest twoje płótno.
Tkanina Monks jest tutaj złotym standardem. Została ona zaprojektowana specjalnie z myślą o szybkim wykrawaniu za pomocą pistoletu do tuftingu.
Zwykły materiał? Rozerwie się. Zaufaj mi w tej kwestii.
4. Przędza
Wybór przędzy ma większe znaczenie niż mogłoby się wydawać.
Najlepsze opcje:
- Akryl: Przystępna cena i mnóstwo kolorów
- Wełna: Droższe, ale bardzo wytrzymałe
- Bawełna: Może być trudny w obsłudze
Większość tuftów używa 2-4 pasm przędzy jednocześnie dla lepszego pokrycia.
5. Klej do dywanów
Po zakończeniu tuftowania należy przykleić tył.
W przeciwnym razie? Twój piękny dywan będzie zrzucał sierść jak golden retriever latem.
Szukaj kleju do wykładzin na bazie lateksu lub kleju z kauczuku syntetycznego.
6. Dodatkowa tkanina nośna
Pokrywa ona przyklejony tył dywanu.
Filc sprawdza się świetnie. Podobnie jak antypoślizgowy materiał na podłoże dywanu.
7. Inne narzędzia
Uzupełnij swój zestaw narzędzi o:
- Ostre nożyczki
- Markery permanentne
- Pistolet do klejenia na gorąco
- Paski samoprzylepne do dywanów (do ramy)
Jak zrobić dywan za pomocą pistoletu do tuftingu: Proces krok po kroku
A teraz część zabawna.
Oto jak stworzyć swój pierwszy tuftowany dywan:
Krok 1: Konfiguracja ramki
Najpierw przymocuj paski samoprzylepne do krawędzi ramy.
Paski powinny być skierowane na zewnątrz z gwoździami skierowanymi od środka.
Następnie naciągnij tkaninę mnisią na ramę.
I mam na myśli ciasno. Jak bęben. Jeśli możesz odbić od niego monetę, jesteś dobry.
Tkanina musi być na tyle napięta, aby nie zwisała po rozpoczęciu tuftowania.
Krok 2: Stwórz swój projekt
Czas na kreatywność.
Masz tutaj kilka opcji:
Opcja 1: Rysuj bezpośrednio na tkaninie za pomocą markera permanentnego.
Opcja 2: Użyj projektora, aby prześledzić projekt
Opcja 3: Odręcznie (jeśli jesteś odważny)
Ważne: Pamiętaj, że Twój projekt będzie odbiciem lustrzanym z przodu. Jeśli więc tworzysz tekst, odwróć go.
Krok 3: Nawlecz pistolet do tuftingu
Nawlekanie jest proste, gdy już się je opanuje.
Przeprowadź nitkę przez górny prowadnik nitki. Następnie użyj narzędzia do nawlekania, aby przeciągnąć ją przez otwór igły.
Upewnij się, że przędza płynnie przechodzi ze stożka lub kłębka do pistoletu. Wszelkie zaczepy zepsują tufting.
Krok 4: Rozpoczęcie tuftingu
Tutaj dzieje się magia.
Przytrzymaj pistolet mocno obiema rękami. Dociśnij stopkę płasko do materiału. Pociągnij za spust i wykonaj powolny ruch.
Kilka kluczowych punktów:
- Zawsze kępka od dołu do góry
- Utrzymywanie stałego ciśnienia
- Poruszaj się w stałym tempie
- Lekkie zachodzenie linii na siebie zapewnia pełne pokrycie
Zacznij od obrysowania projektu. Następnie wypełnij większe obszary.
Nie martw się, jeśli na początku będzie wyglądać niechlujnie. Później można go wyczyścić.
Krok 5: Nałożenie kleju
Po zakończeniu projektowania nadszedł czas na przypieczętowanie umowy.
Gdy dywanik nadal znajduje się na ramie, odwróć go (lub uzyskaj dostęp do tyłu).
Nałóż grubą, równomierną warstwę kleju do wykładzin na wszystkie kępki. Upewnij się, że każde pasmo zostało pokryte.
Ten krok jest kluczowy. Jeśli go pominiesz, dywan się rozpadnie.
Pozostaw do wyschnięcia na 24-48 godzin. Cierpliwość jest tutaj kluczowa.
Krok 6: Usuń i przytnij
Po całkowitym wyschnięciu kleju ostrożnie zdejmij dywanik z ramy.
Przytnij nadmiar materiału podkładowego, pozostawiając około 2 cali wokół wzoru.
Używaj ostrych nożyczek. Tępe sprawią, że ten krok będzie o wiele trudniejszy niż powinien.
Krok 7: Wykończenie krawędzi
Złóż nadmiar materiału do tyłu i zabezpiecz gorącym klejem.
Następnie przytnij drugi podkład do odpowiedniego rozmiaru. Przymocuj go za pomocą kleju w sprayu lub kleju na gorąco.
Nadaje to dywanowi profesjonalny, wykończony wygląd.
Krok 8: Rzeźbienie i ścinanie (opcjonalnie)
Chcesz przenieść swój dywan na wyższy poziom?
Użyj nożyc do dywanów, aby wyrzeźbić wzdłuż linii projektu. Tworzy to głębię i sprawia, że kolory stają się bardziej wyraziste.
Możesz także ściąć całą powierzchnię, aby uzyskać równomierny, wypolerowany wygląd.
Typowe błędy, których należy unikać
Oszczędzę ci bólu głowy.
Oto największe błędy popełniane przez początkujących:
Błąd #1: Luźny materiał
Jeśli tkanina nie jest szczelnie przylegająca do bębna, powstaną nierówne kępki i może dojść do rozdarcia tkaniny.
Błąd #2: Pomijanie kleju
Nie mogę tego wystarczająco podkreślić. Brak kleju = zniszczony dywan.
Błąd #3: Zbyt szybkie poruszanie się
Szybkość przychodzi wraz z praktyką. Zacznij powoli i spokojnie.
Błąd #4: Niewłaściwa grubość przędzy
Zbyt cienki dywan będzie wyglądał na rzadki. Zbyt gruby - nie będzie prawidłowo podawany.
Błąd #5: Ignorowanie kierunku ziarna
Tuftuj zawsze w jednym kierunku. Zmiana kierunku w trakcie pracy tworzy widoczne linie.
Profesjonalne wskazówki dla lepszych wyników tuftingu
Chcesz podnieść poziom swojej gry w tufting?
Wypróbuj te zaawansowane techniki:
Używaj wielu kolorów strategicznie
Nie wrzucaj kolorów losowo.
Zaplanuj przejścia kolorów. Mieszaj podobne odcienie dla gradientów. Używaj kontrastujących kolorów, aby nadać projektom wyrazistości.
Opanuj swoje ciśnienie
Stałe ciśnienie = stała wysokość stosu.
Ćwicz na skrawkach materiału, aż będziesz w stanie utrzymać stały nacisk przez cały czas.
Zainwestuj w przędzę wysokiej jakości
Sprawa wygląda następująco:
Tania przędza tworzy tanio wyglądające dywaniki.
Postaw na włóczkę lepszej jakości. Gotowe elementy będą wyglądać (i trwać) o wiele lepiej.
Utrzymuj broń w czystości
W pistolecie do tuftingu szybko gromadzą się zanieczyszczenia.
Czyść urządzenie po każdym projekcie. Regularnie oliw ruchome części.
Dobrze utrzymany pistolet działa lepiej i dłużej.
Rozwiązywanie typowych problemów
Napotykasz problemy?
Oto jak naprawić najczęstsze problemy:
Problem: Przędza ciągle się łamie
Rozwiązanie: Sprawdź naprężenie. Zbyt mocne naciągnięcie = zerwana przędza.
Problem: Nierówna wysokość stosu
Rozwiązanie: Zwolnij i skup się na stałym kącie i nacisku pistoletu.
Problem: Rozdarcie tkaniny
Rozwiązanie: Materiał może być zbyt luźny lub niskiej jakości. Ponownie rozciągnij lub ulepsz podkład.
Problem: zacinanie się pistoletu
Rozwiązanie: Oczyść przędzę i sprawdź, czy igły nie są wygięte.
Podział kosztów
Zastanawiasz się, ile będzie Cię kosztować to hobby?
Oto realistyczny budżet:
- Pistolet do tuftingu: $150-400
- Materiały ramy: $50-100
- Tkanina mnisia: $20-40 za jard
- Przędza: $50-200 (w zależności od wielkości projektu)
- Klej: $30-50
- Inne materiały eksploatacyjne: $50-100
Całkowity koszt uruchomienia: $350-900
Nie jest tanie. Ale w porównaniu do innych kreatywnych hobby? Całkiem rozsądne.
Inwestycja w czas
Prawdziwa rozmowa:
Pierwszy dywan zajmie więcej czasu niż się spodziewasz.
Mały dywanik o wymiarach 2×2 stopy może zająć:
- Projektowanie i konfiguracja: 1-2 godziny
- Tufting: 3-5 godzin
- Klejenie i suszenie: 24-48 godzin (głównie czekanie)
- Wykończenie: 1-2 godziny
Gdy nabierzesz wprawy, będziesz w stanie wykonać małe dywaniki w jeden weekend.
Gdzie sprzedać tuftowane dywany?
Myślisz o przekształceniu tego w dodatkowy zarobek?
Mądre posunięcie. Niestandardowe dywany sprzedają się za dobre pieniądze.
Twoje najlepsze zakłady:
- Etsy (ogromny rynek ręcznie robionych dywanów)
- Instagram (budowanie zasięgu, sprzedaż bezpośrednia)
- Lokalne targi rzemiosła
- Zlecenia niestandardowe
Uczciwie wyceniaj swoją pracę. Uwzględnij materiały, czas i poziom umiejętności.
Dolna linia
Nauka Jak zrobić dywan za pomocą pistoletu do tuftingu otwiera świat kreatywnych możliwości.
Tak, trzeba się tego nauczyć. I tak, koszty początkowe nie są trywialne.
Ale kiedy już się go opanuje?
Będziesz tworzyć niestandardowe dywany, które w sklepach kosztowałyby setki (lub tysiące).
Ponadto, jest coś głęboko satysfakcjonującego w tworzeniu sztuki użytkowej własnymi rękami.
Zacznij od prostego projektu. Opanuj podstawy. Następnie daj się ponieść kreatywności.
Zaufaj mi: Kiedy skończysz swój pierwszy dywan, będziesz uzależniony.